

LevelSmart Wireless Autofill: The Ultimate Guide for Installation and Setup
The LevelSmart Wireless Autofill system from Kona Labs offers an innovative, easy-to-use solution for maintaining the ideal water level in pools, spas, ponds, water features, and tanks. Unlike traditional systems that require extensive plumbing and wiring, LevelSmart provides a wireless, hassle-free setup, ensuring you can enjoy peace of mind knowing your water systems are always at the perfect level. This detailed guide will walk you through the steps for installation, calibration, and troubleshooting to help you make the most of your LevelSmart system.
What’s in the Box
When you receive your LevelSmart Wireless Autofill system, you’ll find the following components:
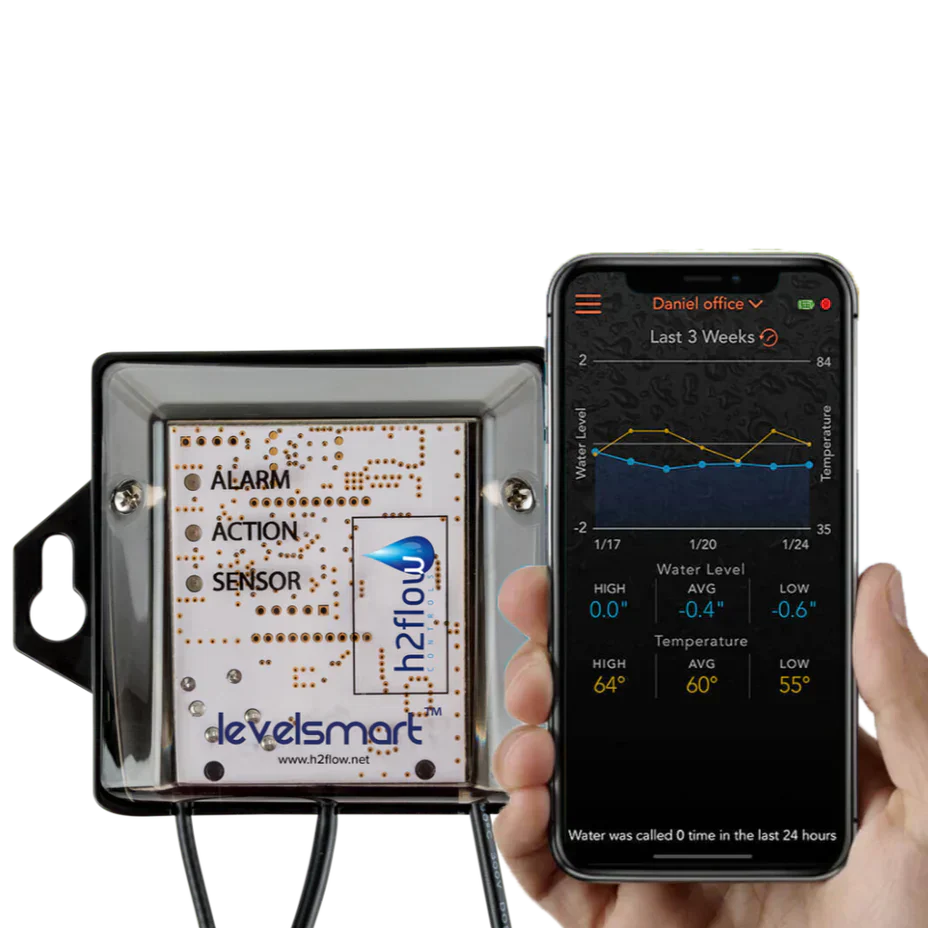
- LevelSmart Sensor
- LevelSmart Valve Controller
- Automatic Valve
- Antenna
- Accessory Kit (including epoxy, wire nuts, screws)
- Power Supply
- Antenna Extension Cable (optional)
- Quick Start Guide
Overview of Installation
The installation process for LevelSmart can be completed with basic DIY skills, although the valve installation should be handled by someone experienced with plumbing. Below are the steps to install and set up your system:
- Install the Valve
- Install and connect the Valve Controller
- Connect the Antenna
- Install the Power Supply
- Pair the Level Sensor and Valve Controller
- Mount the Level Sensor
- Mount the Antenna
- Set and calibrate the water level
Let’s dive into each of these steps in more detail.
1. Install the Valve
The valve comes with 1” female NPT sockets. You will typically install it via a "T" that you plumb into the existing return line to your pool. The valve must be installed in the correct water flow direction, as indicated by the arrow on top. It’s also important to ensure that any fill lines or irrigation systems meet local regulations, which may require a backflow preventer.
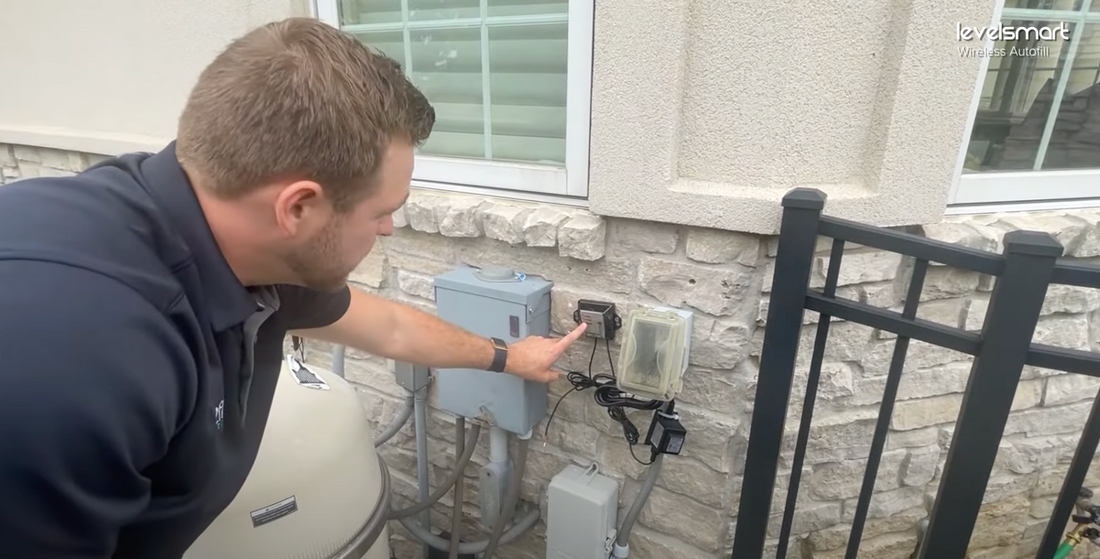
2. Install and Connect the Valve Controller
The valve controller should be mounted no more than six feet away from the valve. Use the provided screws and wall plugs to secure it to the wall. The controller has a 6-foot black wire (with red and black tails) that should be connected to the red wires of the valve’s solenoid. This connection is not polarity-sensitive, so you can connect the wires either way.
3. Connect the Antenna
Attach the antenna to the socket on the valve controller. During the initial setup, do not mount the antenna permanently. Instead, place it in a location where it can communicate effectively with the Level Sensor, ensuring it's at least 12 inches away from any metal objects to avoid interference.
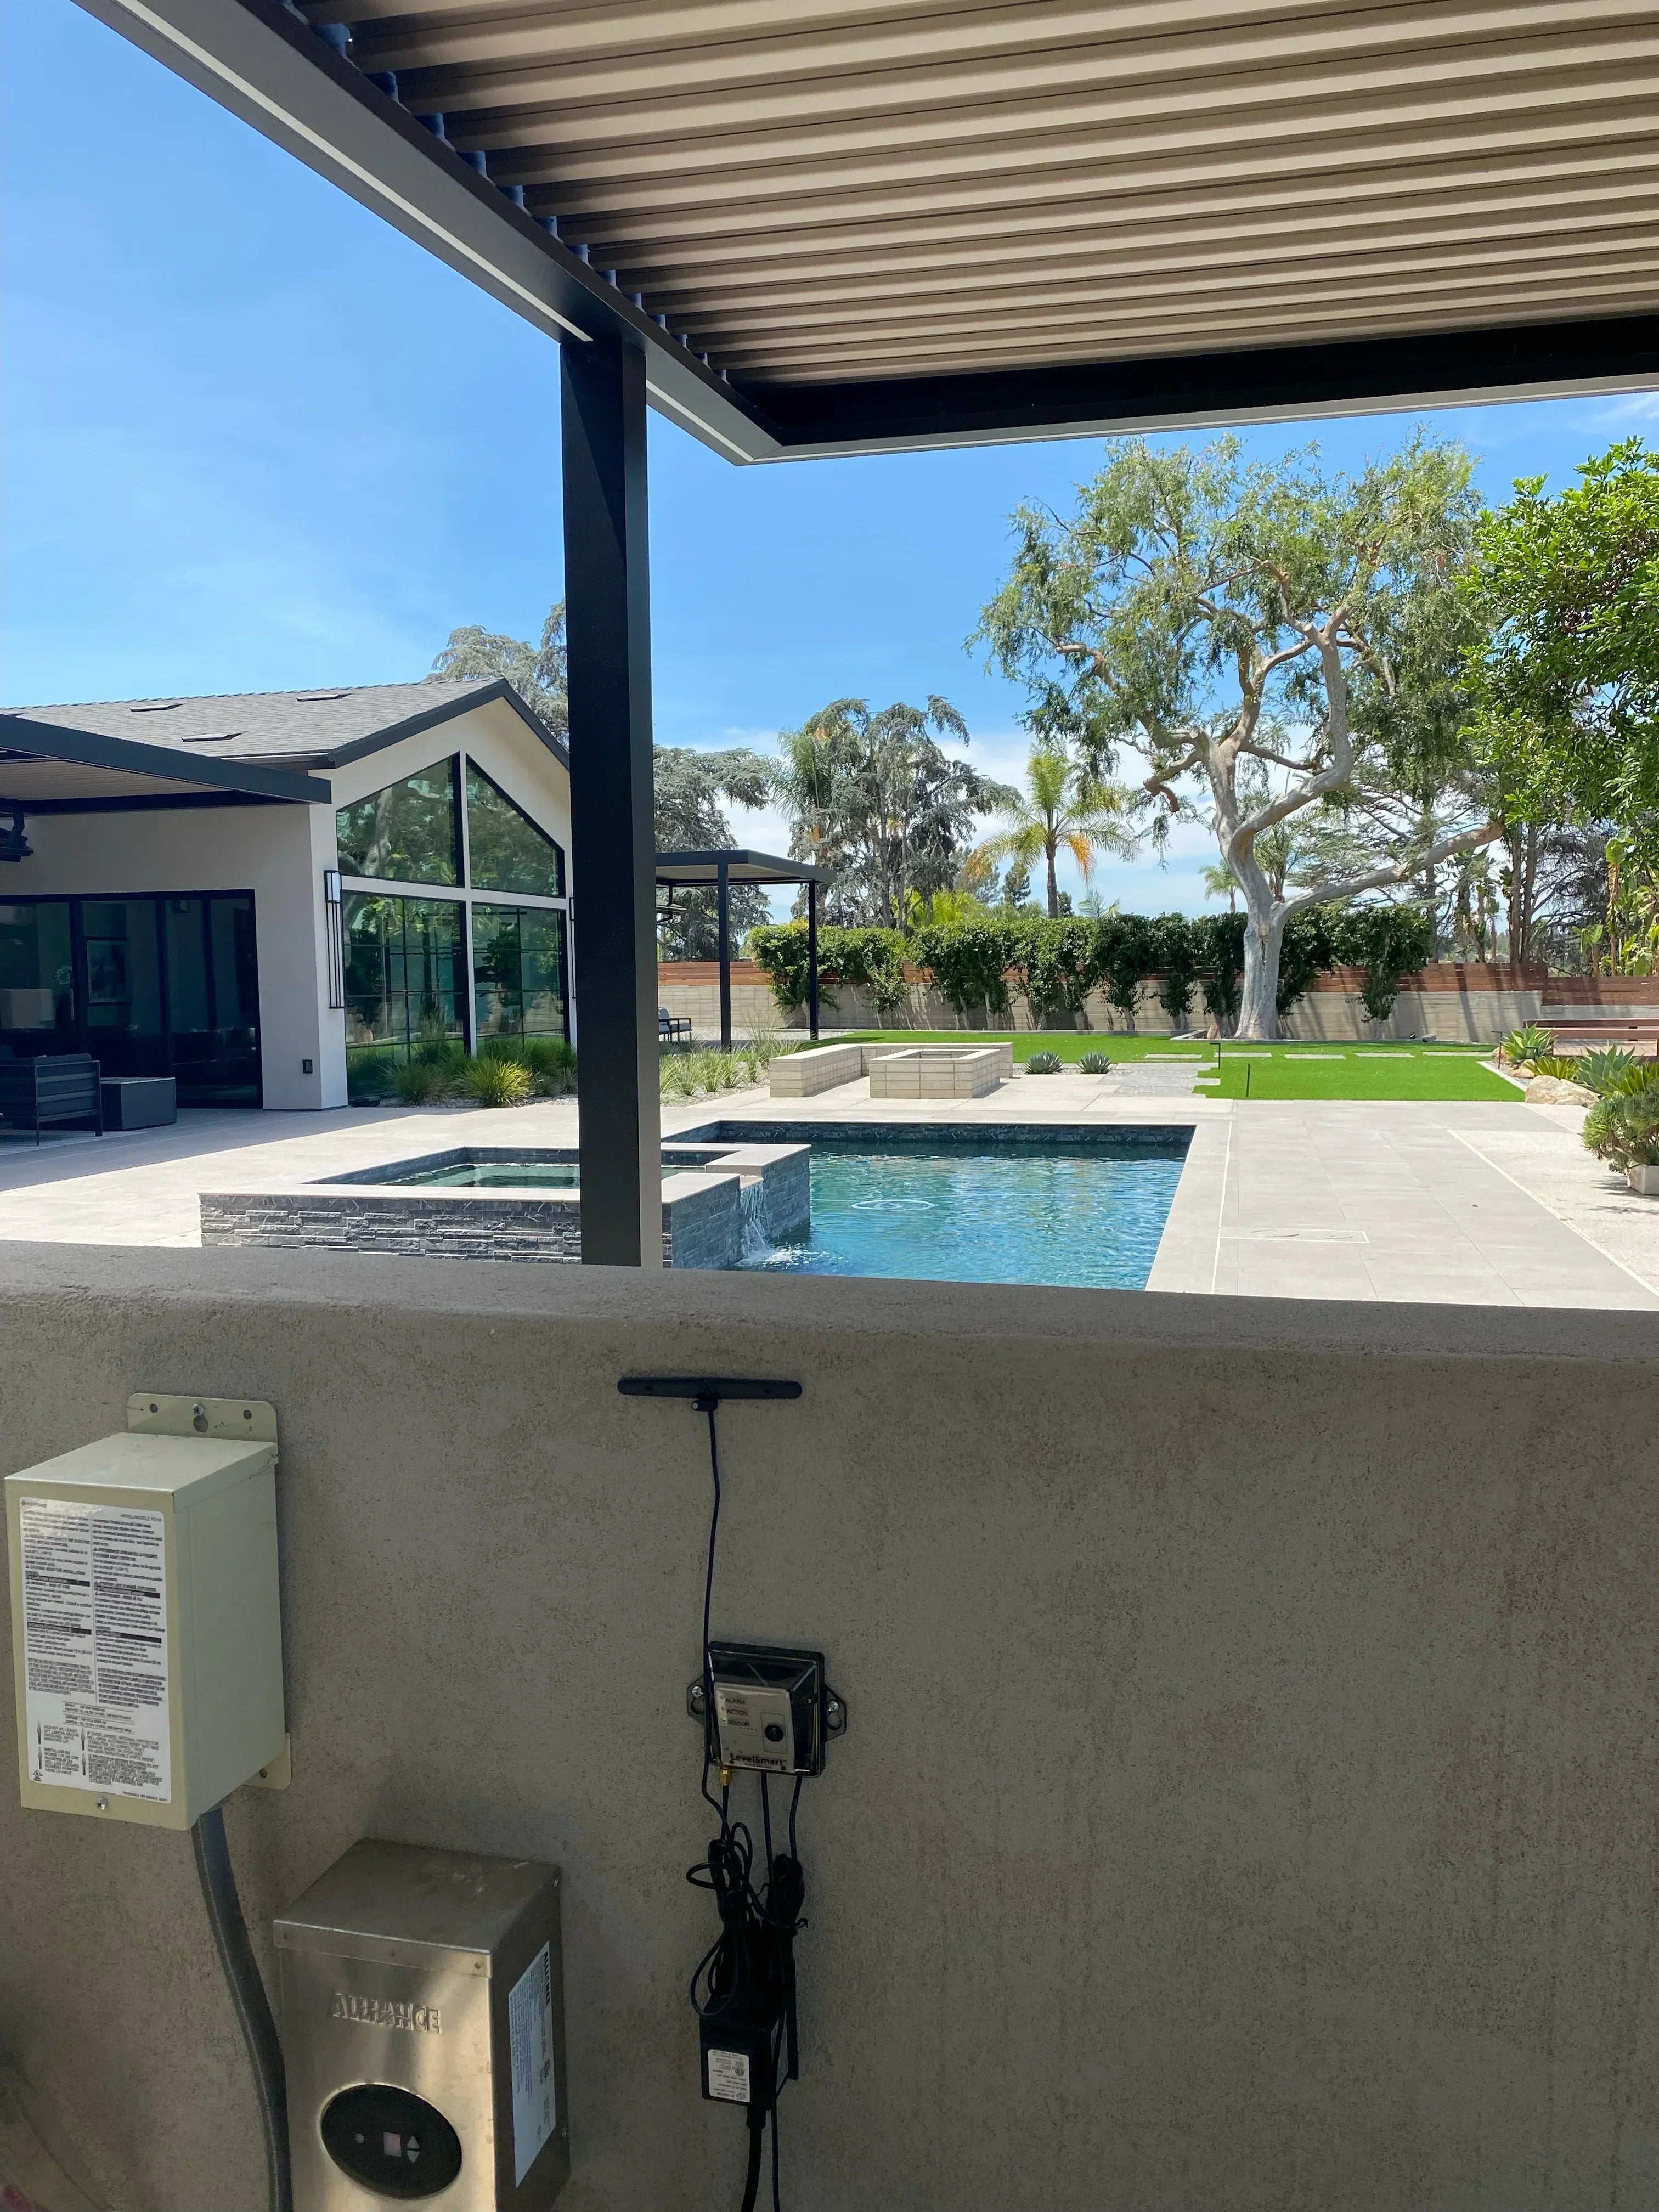
4. Install the Power Supply
Locate a 120 VAC outlet near your equipment pad and mount the power supply. Connect the power supply to the valve controller using the provided cable and tighten the nut to seal it from water. Once connected, the controller LEDs should flash in a specific sequence, signaling that the system is powered up and ready for pairing.
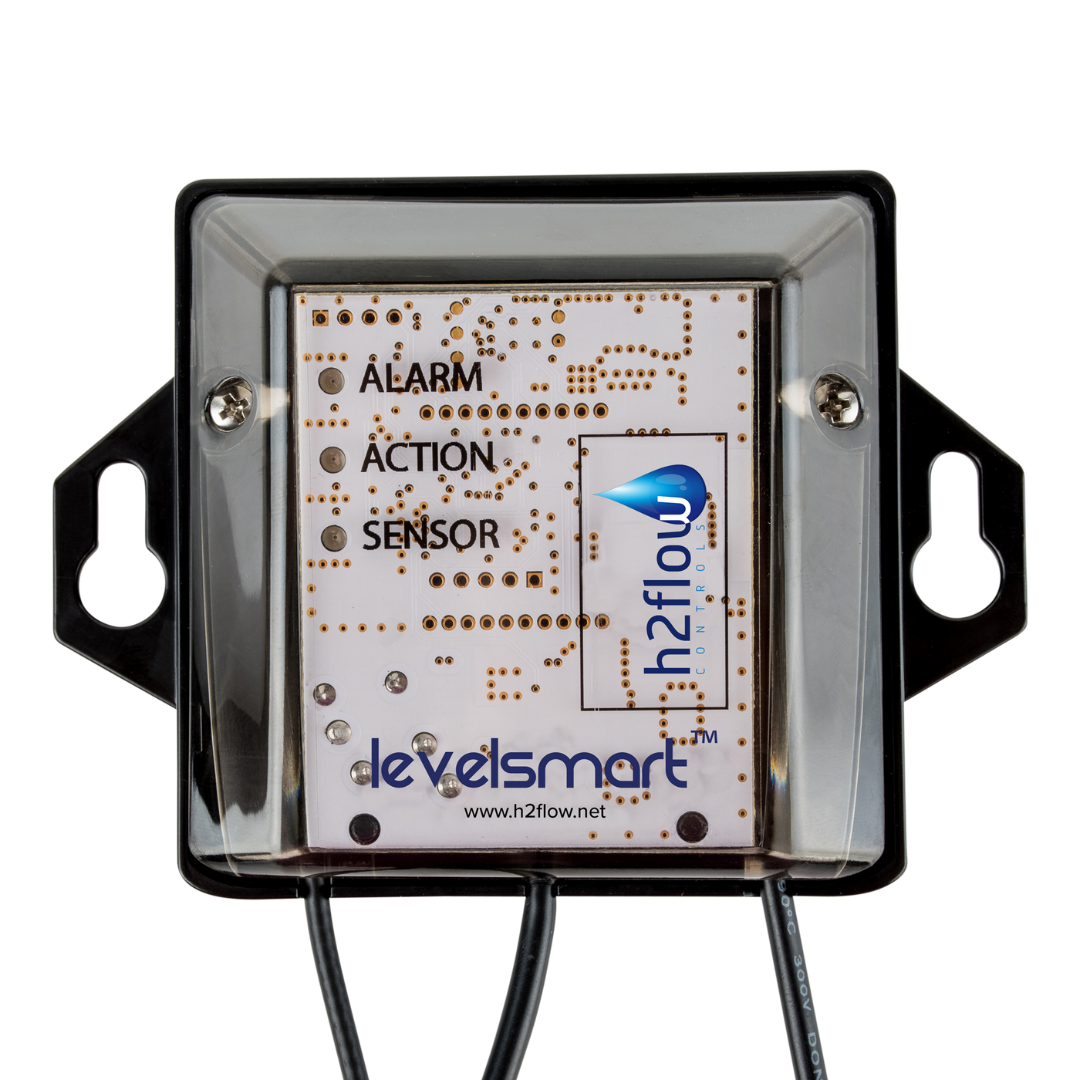
5. Pair the Level Sensor and Valve Controller
Take the Level Sensor to the area where you plan to install it (commonly near the pool skimmer). Remove the magnet from the front face to initiate pairing. The sensor will flash a green LED, signaling that it is ready to pair with the valve controller. At the controller, you will see the ACTION LED flash repeatedly, followed by the SENSOR LED turning solid green, indicating a successful pairing. If pairing fails, you may need to reposition the sensor or antenna to improve the wireless signal.
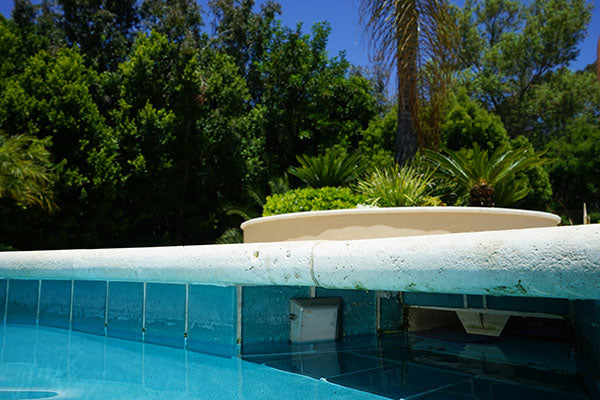
6. Mount the Level Sensor
Once pairing is successful, clean and dry the area where you’ll mount the Level Sensor, ensuring it's about 0.5 to 1.5 inches above the desired water level. Apply the included epoxy to the back of the sensor, press it onto the pool wall, and keep it in place for at least 90 seconds to ensure a secure bond. Allow the epoxy to cure for an hour or two before moving on.
7. Mount the Antenna
Now that the sensor is successfully paired and mounted, attach the antenna close to its temporary location during pairing. Ensure the antenna is not near metal, as this could interfere with the wireless signal.
8. Set and Calibrate the Water Level
With the water at the desired level, hold the magnet over the bottom right corner of the Level Sensor for 2-4 seconds. The sensor’s green LED will flash three times, signaling that calibration has started. During calibration, the Valve Controller’s green LED will flash for a minute. Once completed, the green LED will turn solid, and the system may initiate a brief water fill cycle to reach the set level.
Testing the Valve After Pairing
Once the system is set up, you can test the valve. Hold the magnet to the face of the Valve Controller for 2-4 seconds to initiate a test. The ACTION LED will light up, and the valve will open for 5 seconds before closing again. Listen for the clicking sound of the solenoid as it operates.
Adjusting the Water Level
If you need to adjust the water level after calibration, simply bring the water to the new desired level, then use the magnet to reset the sensor. Hold the magnet for 2-4 seconds, and the system will recalibrate to the new level.
Valve Flow Control Adjustment
The valve's flow control can be adjusted based on your specific needs. For larger bodies of water like pools, keep the flow control knob fully open. For smaller applications such as spas, you can close the flow control to about 50%. Always ensure the solenoid is fully closed for the system to function correctly.
Troubleshooting
While the LevelSmart system is designed to be reliable, here are some common issues you may encounter:
- Overfilling: Ensure the solenoid is in the OFF position and that the sensor is not removed from the pool.
- Water Level Not Maintained: Check that the water supply to the valve is turned on and that the sensor is correctly mounted.
- Damaged Valve: If the valve is not functioning correctly, ensure it’s installed properly and hasn’t been over-tightened. In cold climates, consider using flexible garden hoses for easier winterization.
For further troubleshooting, consult the troubleshooting section of the manual for more detailed solutions.
Conclusion
The LevelSmart Wireless Autofill system is a user-friendly and reliable solution for maintaining the perfect water level in your pool, spa, or other water feature. With simple installation steps, intuitive calibration, and easy-to-use controls, you can keep your water systems running smoothly with minimal effort. Should you encounter any issues, the troubleshooting section provides guidance on how to resolve common problems.
This blog post gives a comprehensive overview of how to set up and use the LevelSmart Wireless Autofill system, providing everything you need for a seamless installation experience. You can also view the document here
1 comment
I am looking for the reason my sensor light does not come on with the magnet test?
Dead battery, or?